Oversight
Dashboard
The first page displayed upon login to Vantage is the dashboard.
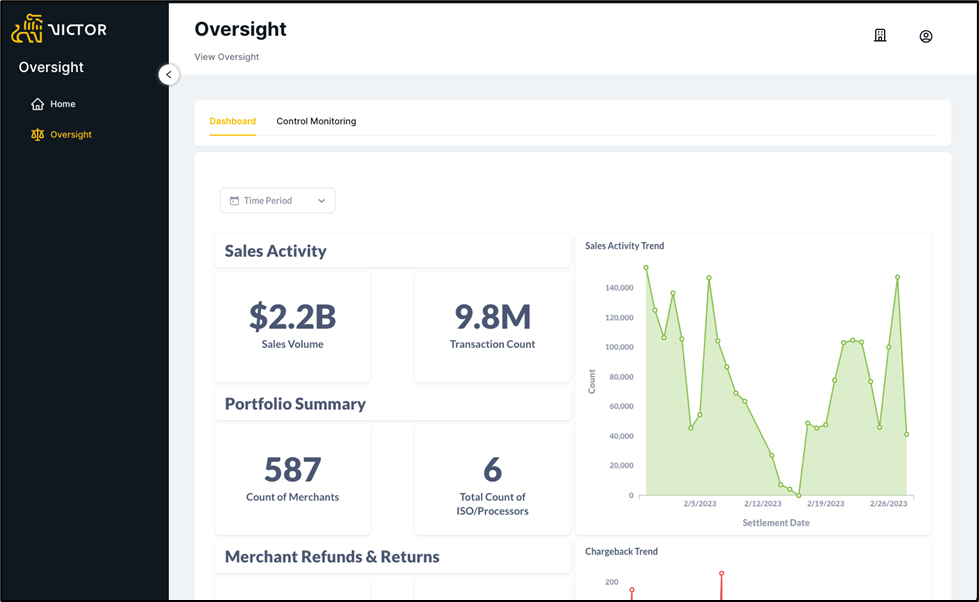
Figure 1. Vantage Oversight Dashboard
The dashboard shows overall information and metrics about the acquiring processor data. Using the ‘Time Period’ filter at the top of the page, data can be filtered to provide a view limited to a selected period:
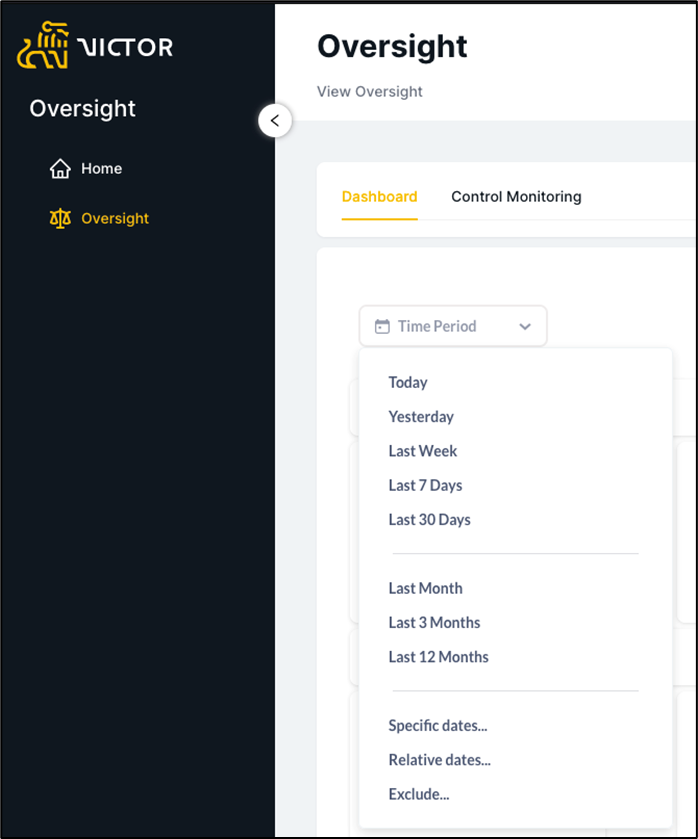
Figure 2. Vantage Oversight Time Filter
Within the Dashboard page, metrics are displayed showing the following:
• Sales Activity (dollar volume and transaction count)
• Portfolio Summary (total merchant count and total count of ISO/processors)
• Merchant Refunds and Returns (transaction count and dollar volume)
• Sales Activity Trends
• Chargeback Trends
• Merchant Risk and Transaction Review (accounts reviewed and accounts actioned)
• Write-Offs (accounts and dollar volume)
• Exceptions (open exceptions and year-to-date exceptions)
• Chargebacks (dollar volume and transaction count)
• Settlement Overview (total returns as a % of total transactions)
• High Risk Merchant Volume (dollar volume of high-risk transactions)
Control Monitoring
The Control Monitoring page displays transaction details and limit information, allowing for data to be sorted/displayed by ISO and/or Merchant, along with limiting the data displayed to a specific time period.
The ISO filter box can be used to restrict data by selected ISO:
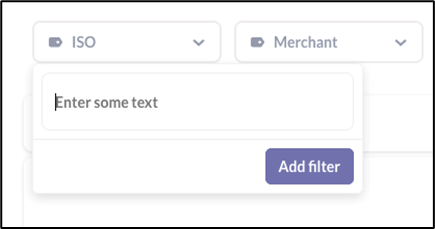
Figure 3. Vantage Oversight ISO Filter
The Merchant filter box can be used to restrict data by selected Merchant:
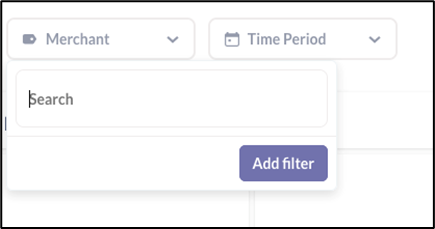
Figure 4. Vantage Oversight Merchant Filter
The Time Period filter box can be used to restrict data the displayed data by selected time period:
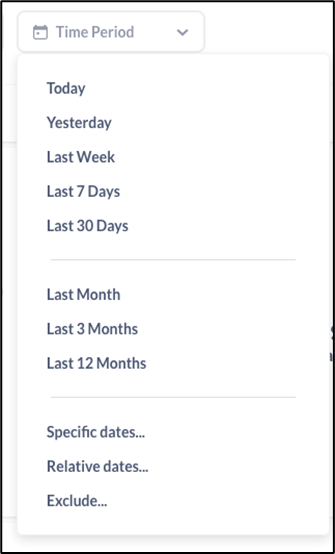
Figure 5. Vantage Oversight Time Filter
The main page in Control Monitoring Sales Activity displays data about the ISO/Processor activity. On the right side of the page, further information related to the following can be displayed:
• Portfolio Summary
• Chargebacks
• Merchant Refunds
• Exceptions (See Section 5. – Limits)
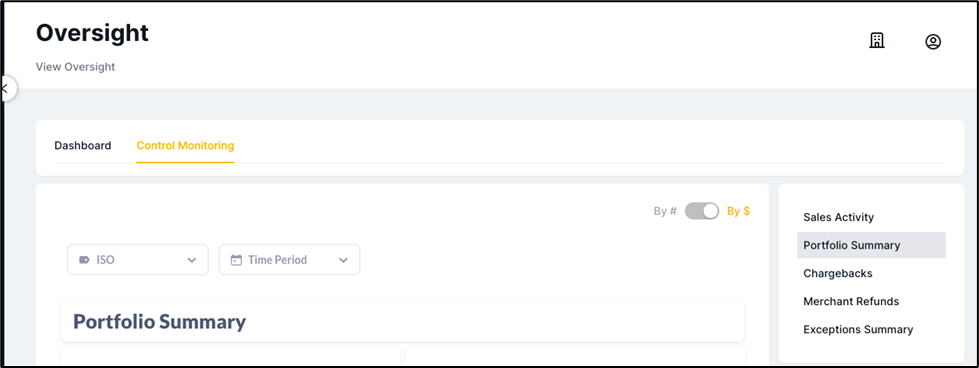
Figure 6. Vantage Oversight Control Monitoring Page
Limits
The Oversight module of Vantage allows administrators the ability to set control limits on the incoming data and send notifications when limits are breached. These limits are evaluated in real-time as the data flows into Vantage and notifications are immediately sent when the data exceeds the control limits. Existing control limits are viewed under the Control Monitoring tab and can be filtered based on Processor, Merchant, and Limit Type.
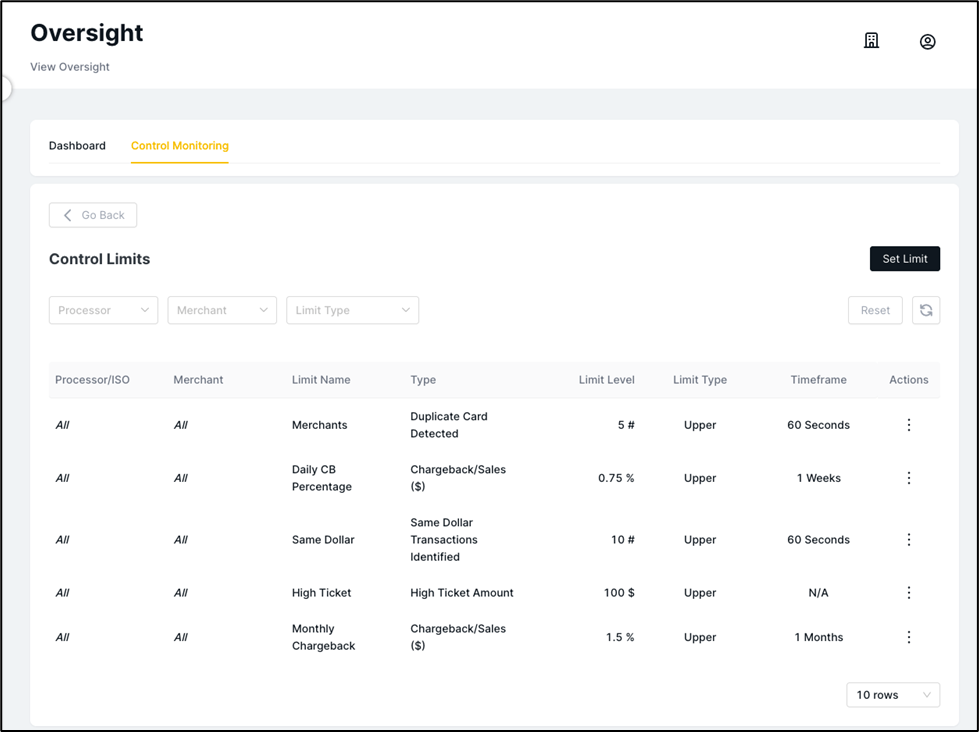
Figure 7. Vantage Oversight Control Limits
Each individual limit can be edited or deleted by clicking on the hamburger menu on the right under the ‘Actions’ column:

Figure 8. Editing Existing Control Limits
Limits can be configured and set by clicking on the ‘Set Limit’ button in the top right of the Control Limits page. As the picture below shows, limits can be assigned per Processor/ISO (or across all processors), by limit type, and configured to send notifications to specific users within the Vantage system via dropdown/autofill of registered users that have been added via the Organization Administration (see Administration section).
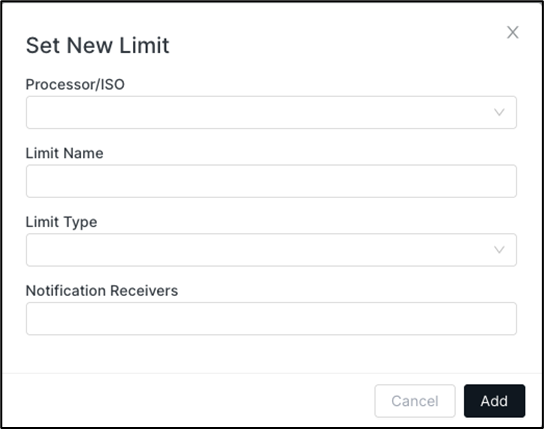
Figure 9. Configure New Control Limits
The table below displays the control limits that can be configured in Vantage Oversight:
| Control Limit | Description |
|---|---|
| Chargeback/Sales ($) | Chargeback ratio as compared to sales volume exceeds configured threshold |
| Chargeback/Transaction Volume (#) | Chargeback ratio as compared to transaction volume exceeds configured threshold |
| Credit Volume vs. Sales Volume | Credit volume as compared to sales volume exceeds configured threshold |
| Duplicate Card Detected | Detected the same payment card used within the short timeframe. Review to identify if a fraud event is occurring. |
| High Ticket Amount | Transaction exceeds the average ticket threshold |
| High Volume from Prior 6 Months | Transaction volume exceeds average for the prior six months |
| Low Ticket Amount | Significant number of low ticket transactions compared to the merchant’s average transaction amount |
| Same Dollar Transactions Identified | Detected the same transaction amount. Review to identify if a fraud event is occurring. |
| Small Same Dollar Amount | Detected small dollar amounts which could indicate testing of an account that could lead to fraud event in the very near future. |
| Unusual Change in Transaction Velocity | Spikes in sales volumes detected |
Administration
User profile and General Administration (for properly provisioned users) is available by clicking on the icons at the top right of the application:
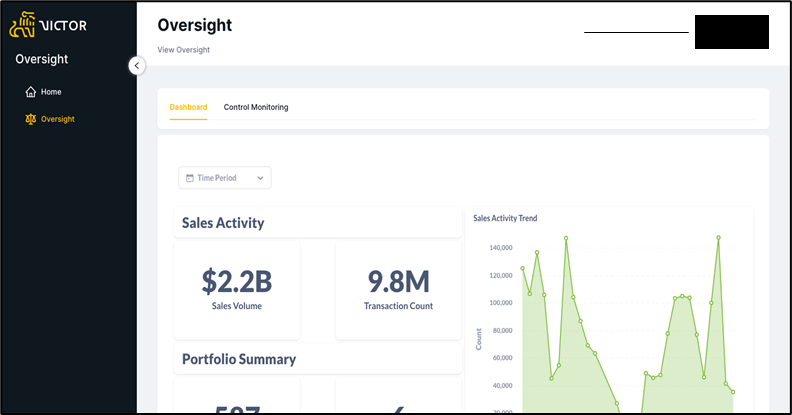
Figure 10. Vantage Oversight Administration
Clicking on the first icon (the building icon), will display the organizations users and allow for the addition of new users or the editing of permissions and user access.
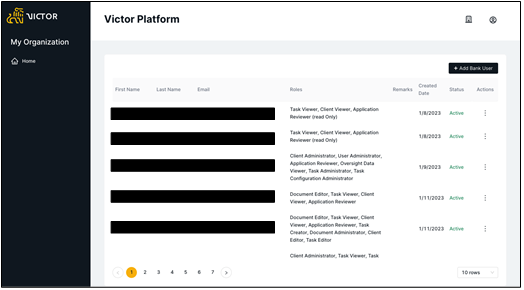
Figure 11. Vantage Oversight Organization Administration
Clicking on the ‘Add Bank User’ button in the top right will launch a dialog screen to allow for a new user to be created and permissions set.
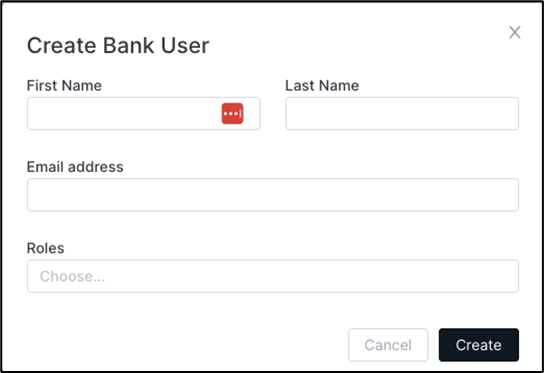
Figure 12. Create New User
Next to the User Administration icon (the building icon), is the User Profile icon (circle icon). Clicking on it will allow the logged-in user to view their user profile information.
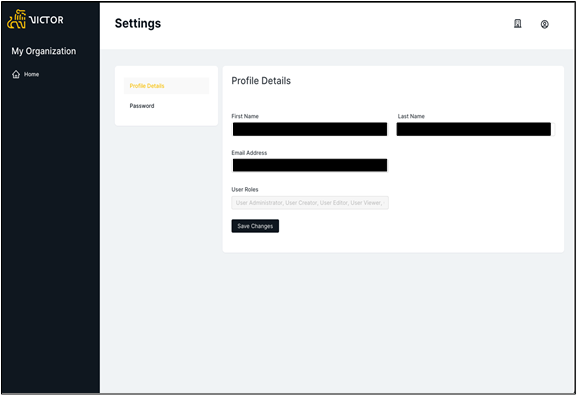
Figure 13. Vantage Oversight User Profile
The user may edit their password by clicking on the ‘Password’ button on the left side of the page. When editing a password, the old password must be entered, and the password must meet configured password policy requirements as shown in the picture below:
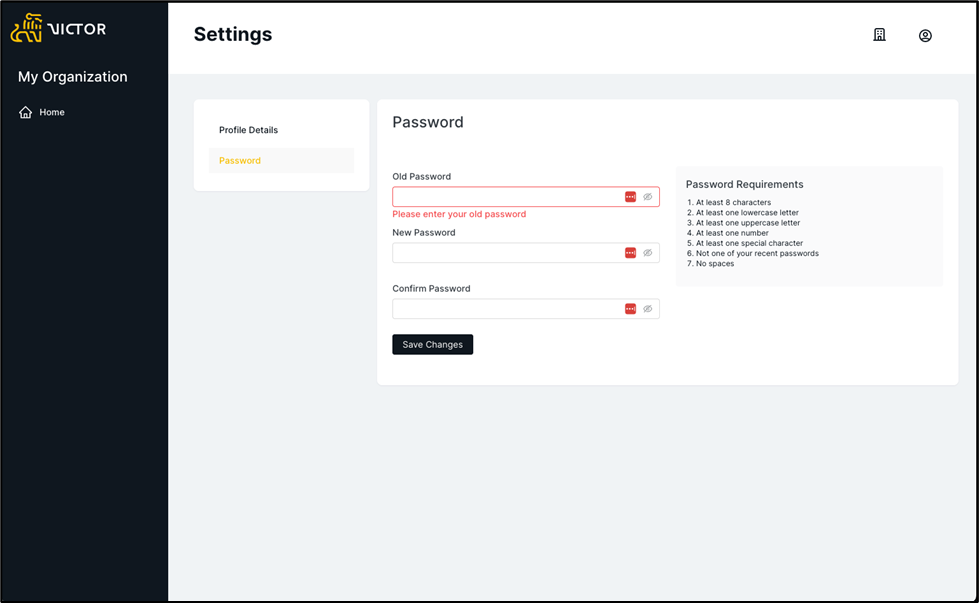
Figure 14. Change Password Functionality
Updated about 1 month ago
