Document Library
From the left-hand navigation select Documents Library.
Change Library Views
Toggle your view between Table and Folders.
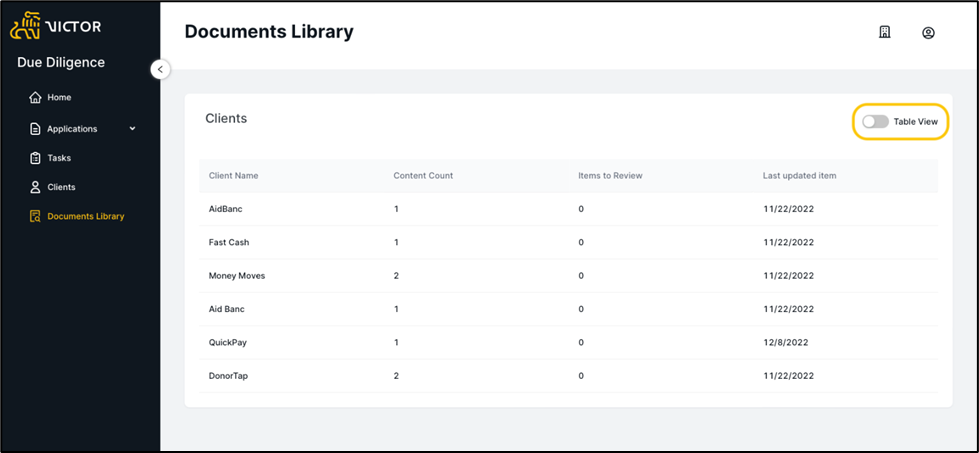
Figure 1. Documents Library
Change Library Views
Toggle your view between Table and Folders.

Figure 2. Documents Library Folders View
Create New Folder
Select a client folder from the list. From within a Client Folder select '+Create New'. Proceed to give the new folder a name and Save Changes
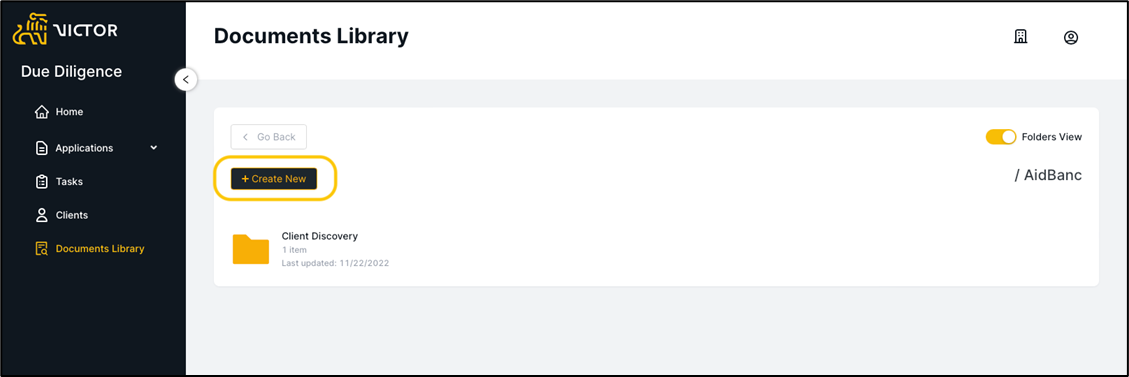
Figure 3. Documents Library Create New
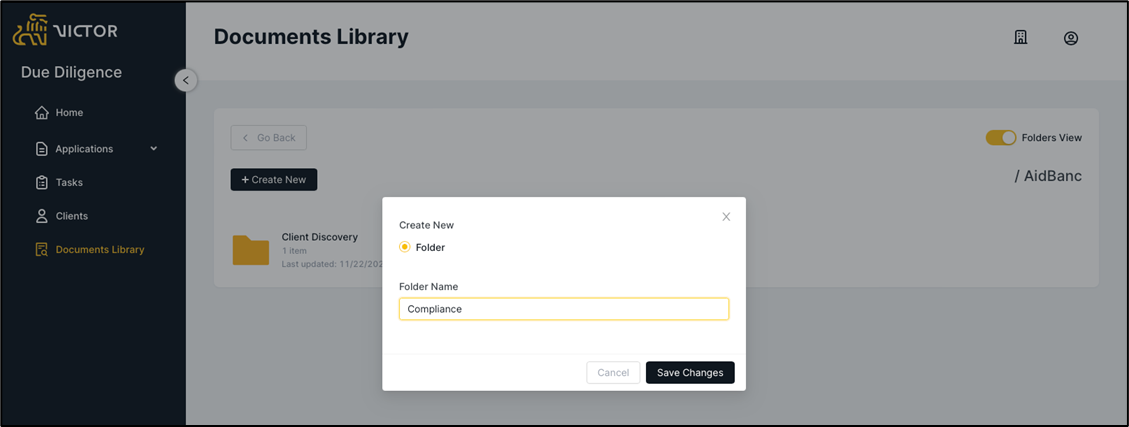
Figure 4. Confirm New Folder Name
Your new folder is now available and ready for document upload.
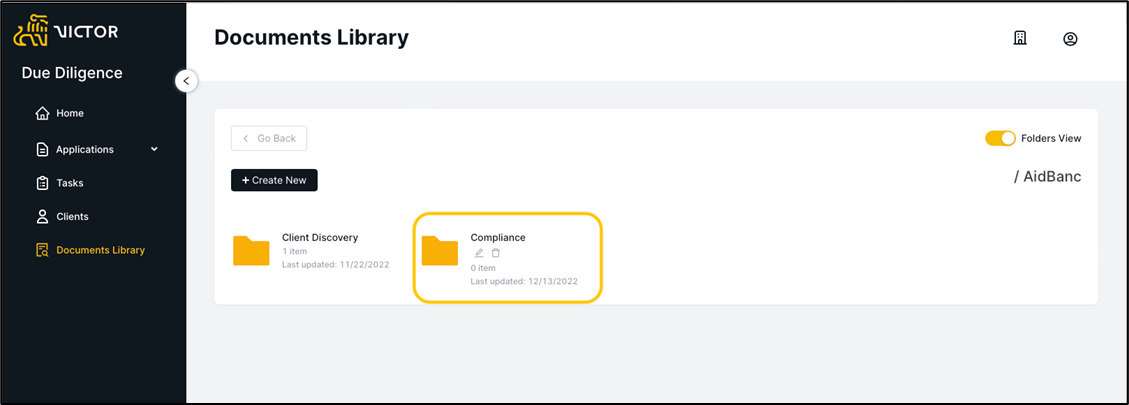
Figure 5. New Folder Created
Folders will be automatically created and dated, and any documents provided by a client on an application will be saved in the folder associated with that application submission date.
Edit Folder
To change the name of the folder, select the pencil icon from the folders view and select the three dots from the list view.
Folders View
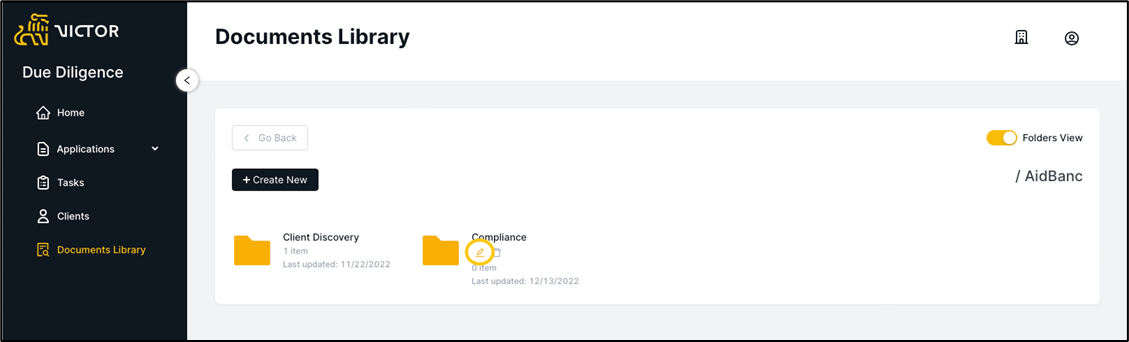
Figure 6. Edit Folder Within Folders View
Table View
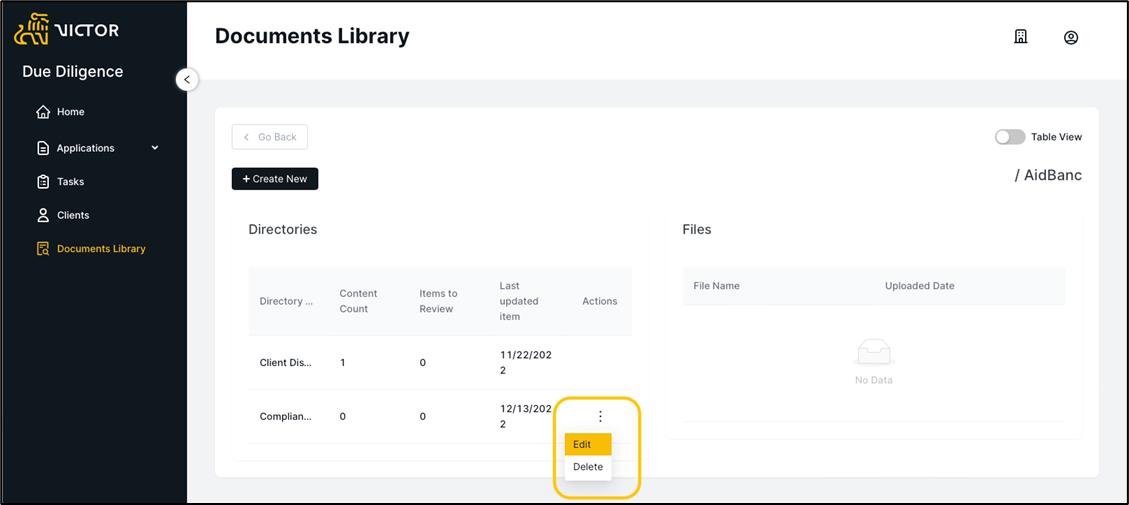
Figure 7. Edit Folder Within Table View
Modify the name and Update.
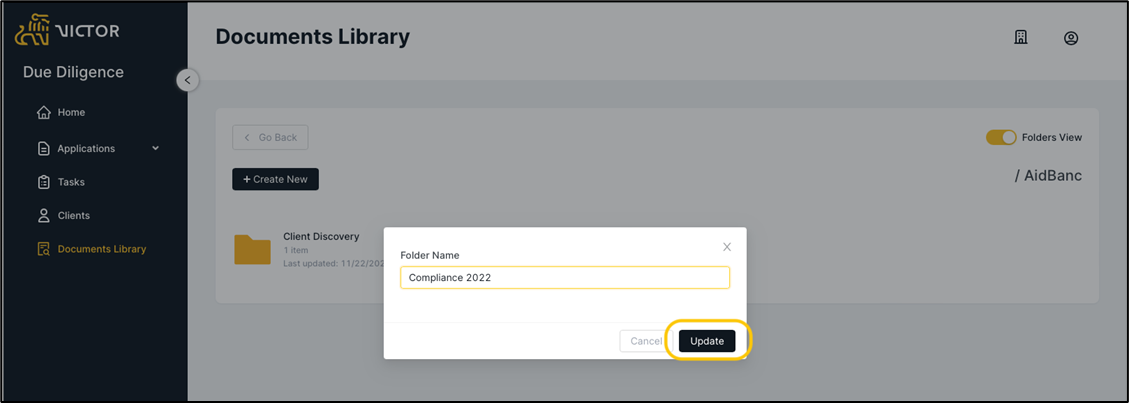
Figure 8. Edit Folder Name Confirmation
Delete Folder
If you want to delete a folder the folder must first be empty. If there are files within the directory the folder cannot be deleted, and files would first need to be deleted/archived.
Select the trash icon from the folders view and the three dots from the list view.
Folders View
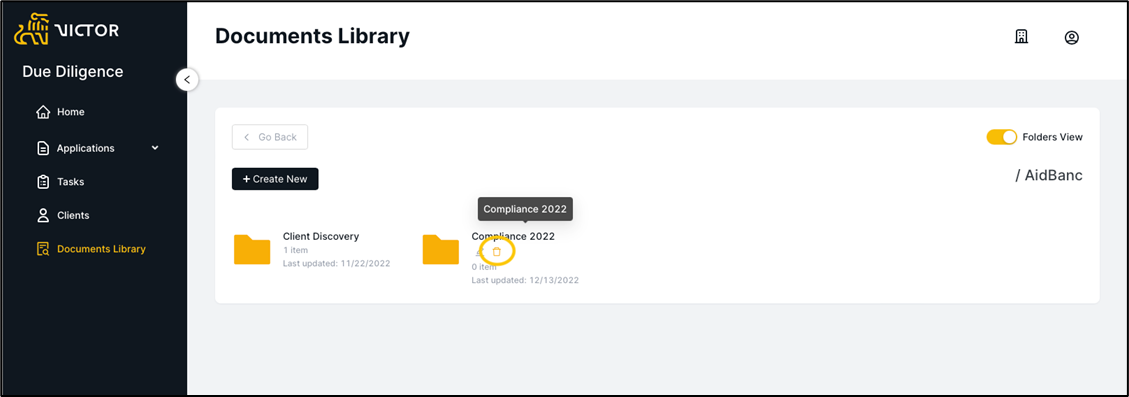
Figure 9. Delete Folder Trash Icon Within Documents Library Folders View
Table View
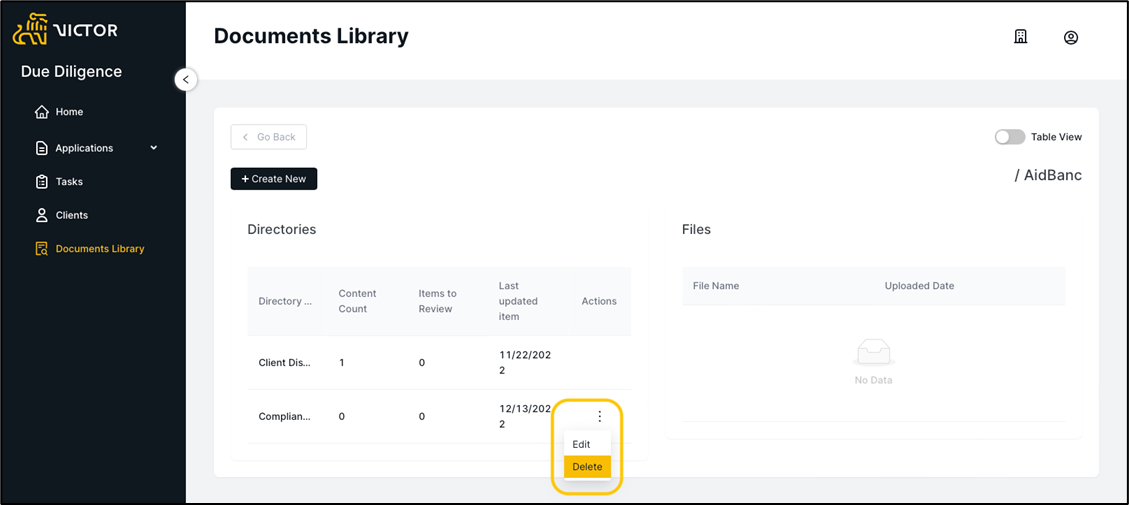
Figure 10. Delete Folder Option Within Documents Library
Confirm Deletion.
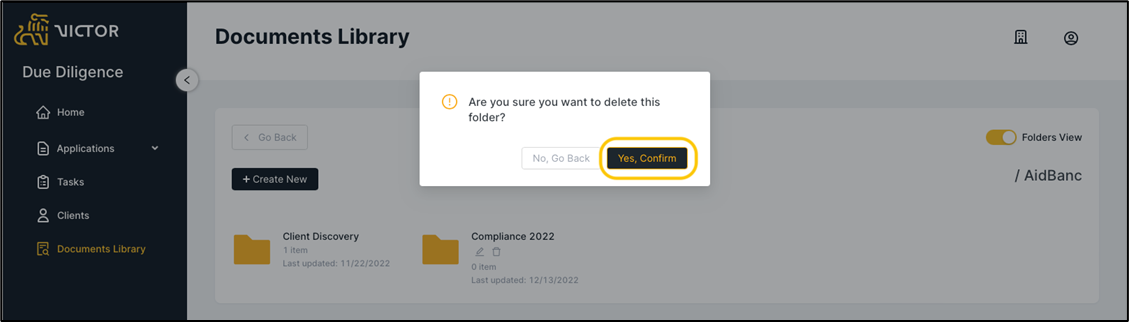
Figure 11. Confirmation of Folder Deletion Modal
Create New File
InfoSupported file types: JPG, JPEG, PNG, SVG, PDF, CSV, TXT, XLS, XLSX, DOC, DOCX, PPT, PPTX
Max File Size: 25MB
From within a folder directory select '+Create New'.
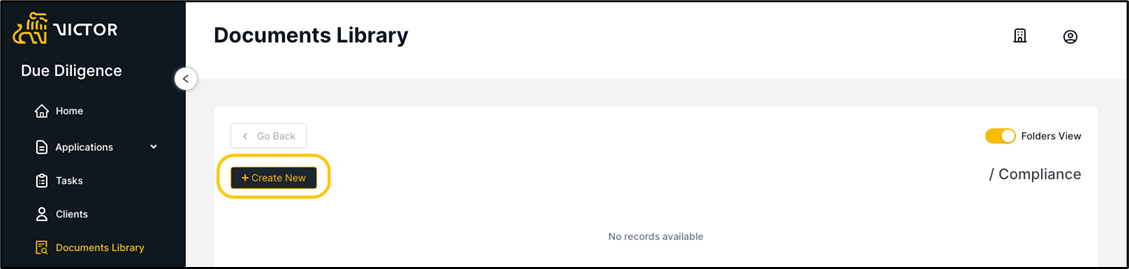
Figure 12. Create New Folder or File within Documents Library
From Create New modal select File.
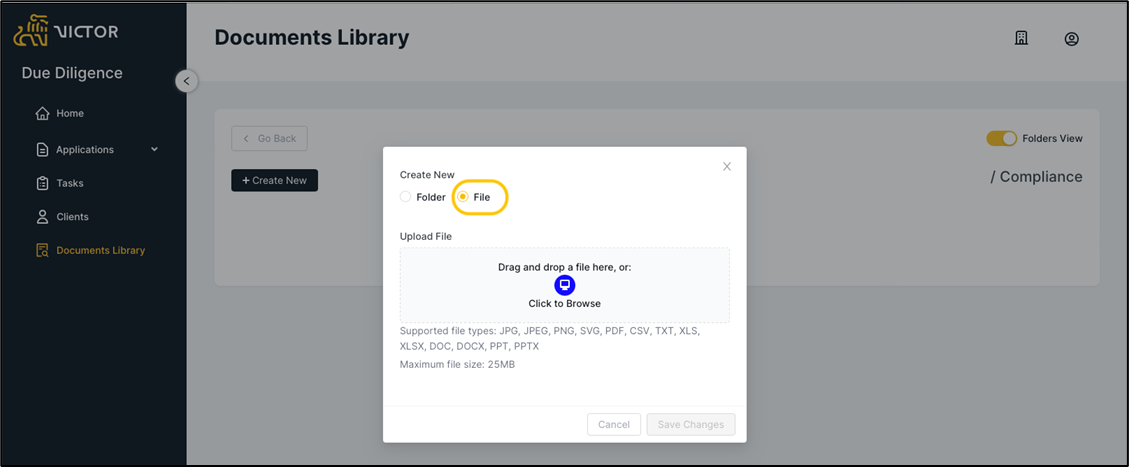
Figure 13. File or Folder Creation Modal
Click to Browse for Files from Desktop or Drag and Drop Files from an existing Directory.
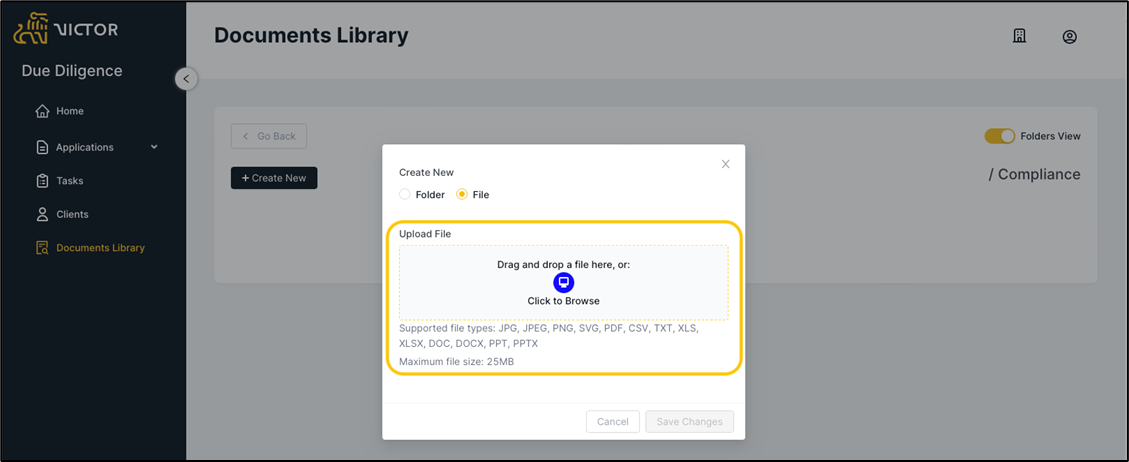
Figure 14. Document Library File Upload Utility
Remove a File from your upload by hovering over it and selecting the trash can icon.
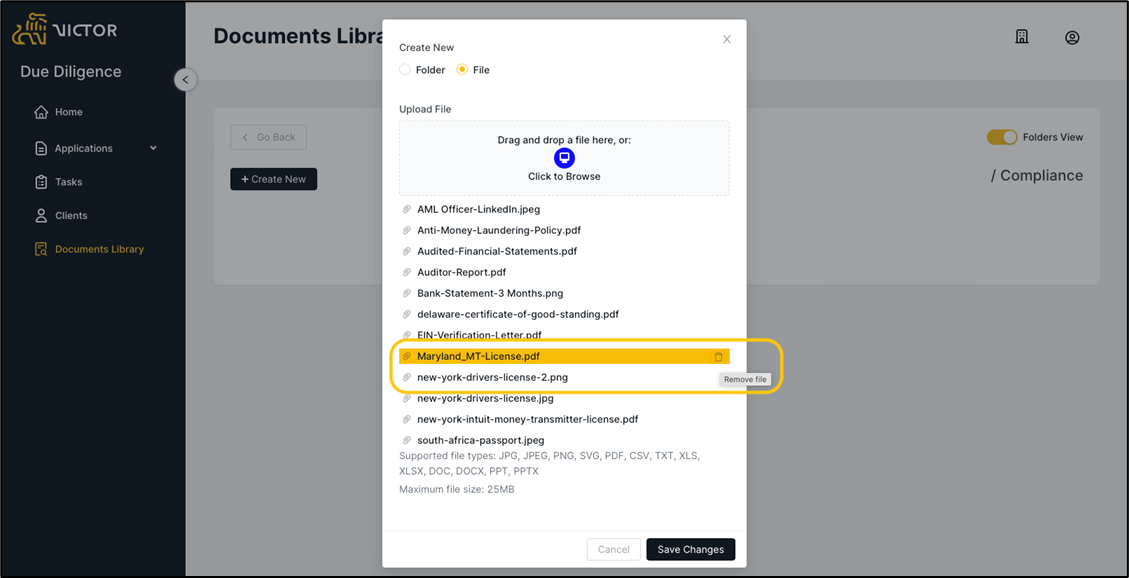
Figure 15. Document Library File Deletion
Save Changes to upload your selected files.

Figure 16. Confirmation of Changes.
Uploaded Files
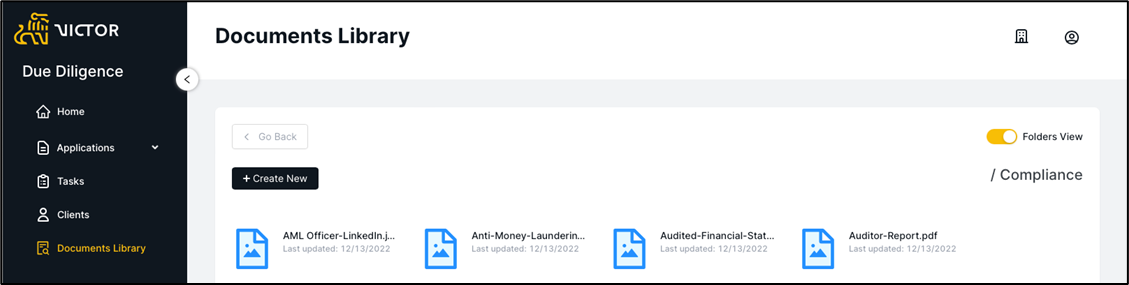
Figure 17. Documents Library Overview
Edit File Name
Select a file from the Documents Library.
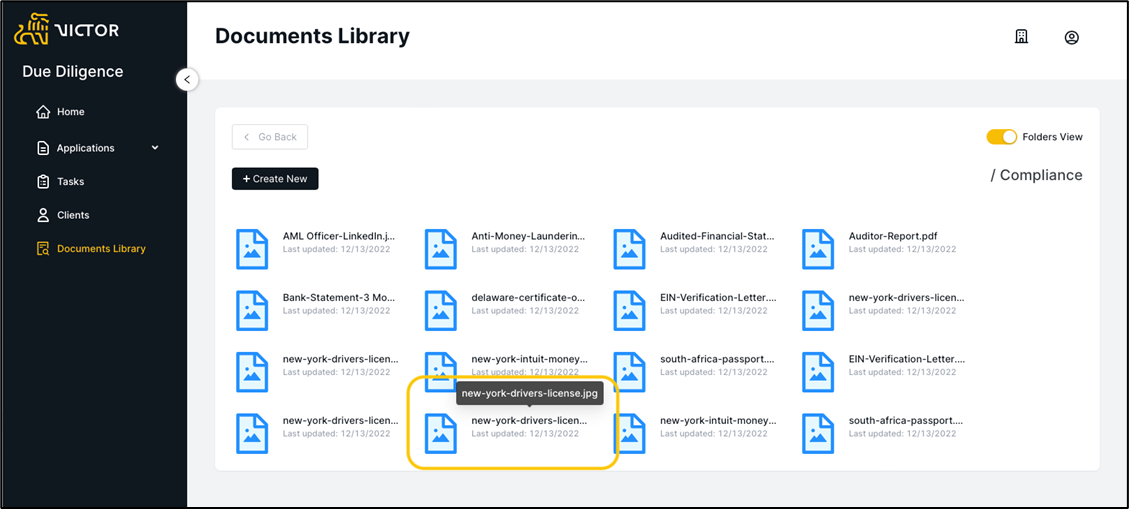
Figure 18. Documents Library Item Selection
When viewing the file, select Edit Name.
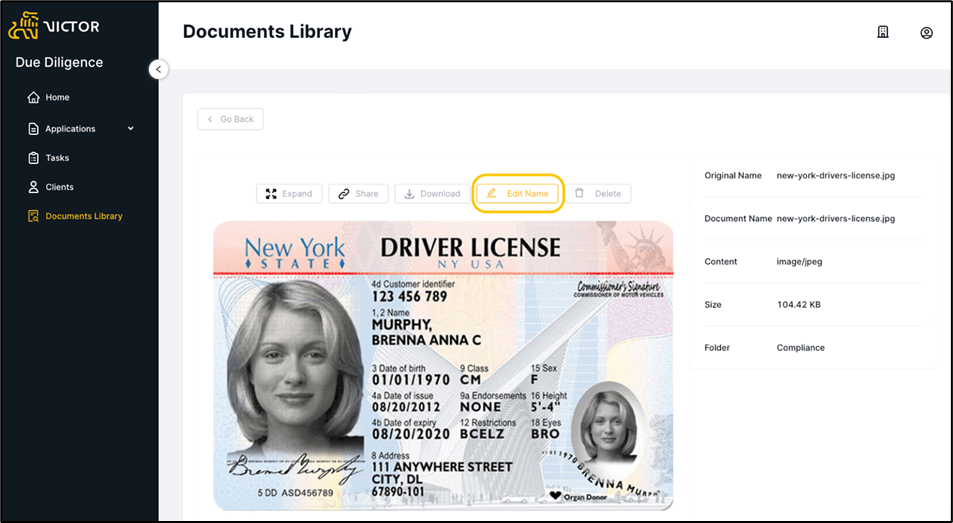
Figure 18. Documents Library File View - Edit Name
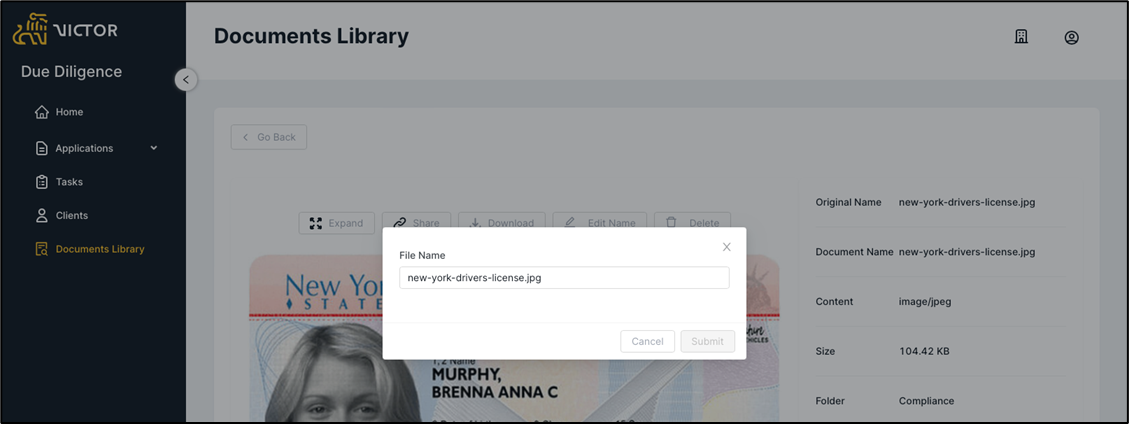
Figure 19. File Name Modal
Give the file a new name.
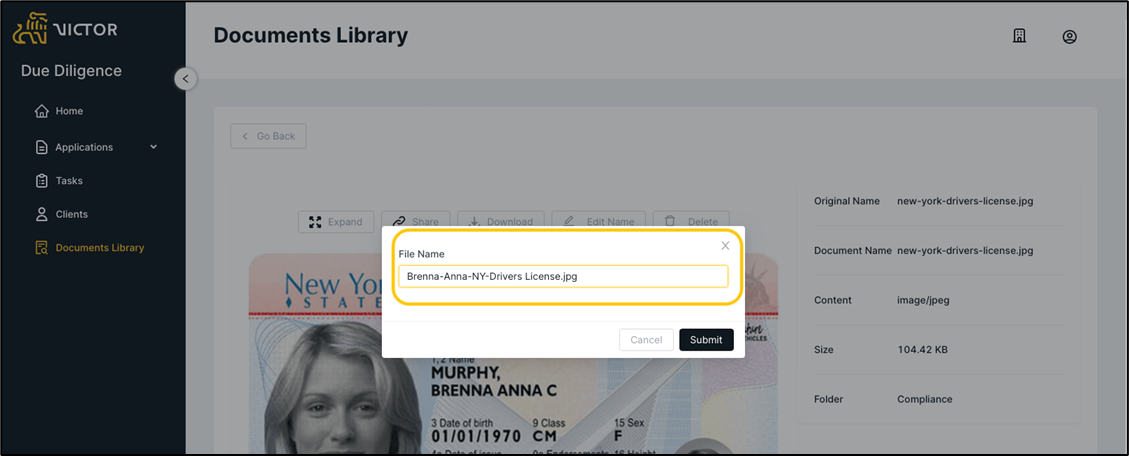
Figure 20. File Name Modal Name Changed
Submit
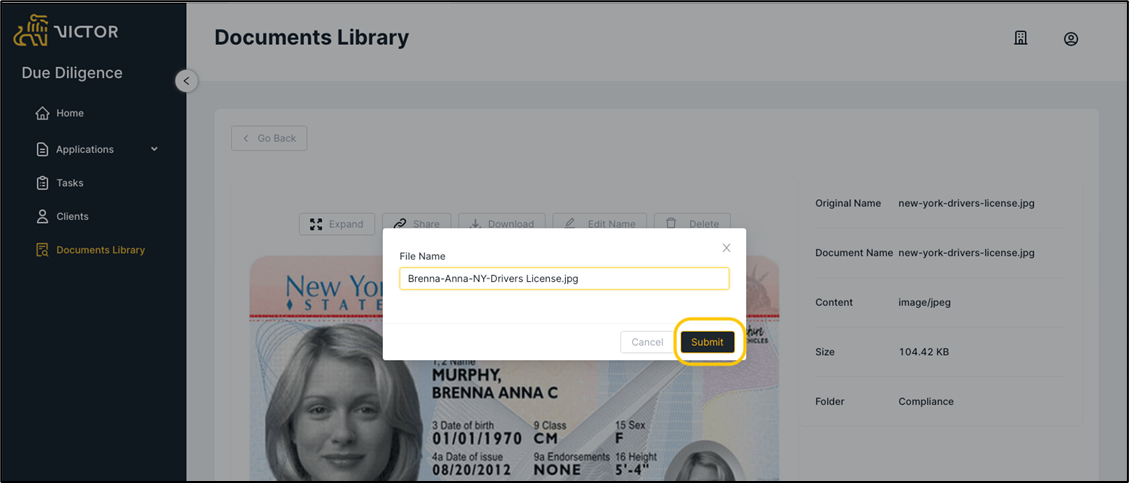
Figure 21. Confirmation of New File Name
Download File
When viewing the file, click Download File and the download will start.
Share File
InfoUsers must have access to the system to view Shared files.
When viewing the file, click Share.
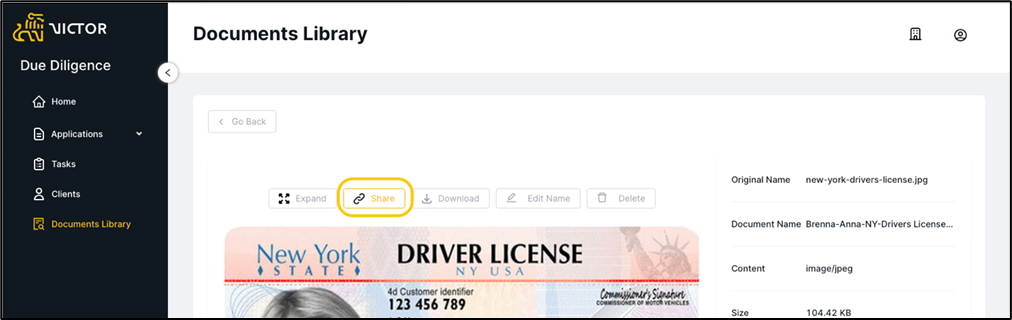
Figure 22. Share File
Enter email address of user to invite to the file, Send Invite.
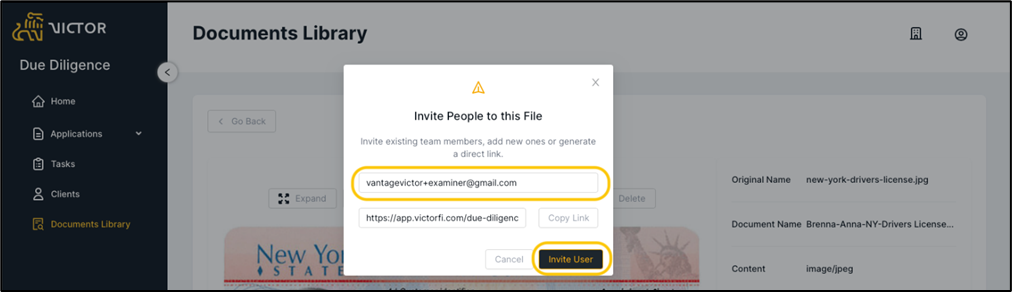
Figure 23. Input User Email Address with whom to share file with
Alternatively, Copy Link to paste elsewhere (ex: in a chat or email).
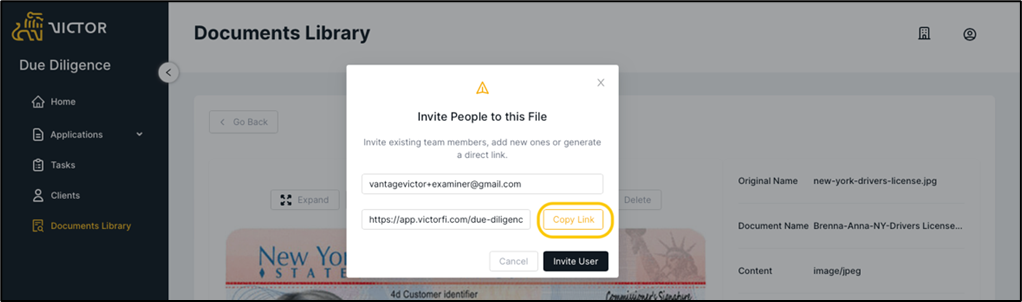
Figure 24. Link to File
Delete File
When viewing the file, select Delete.
InfoThis is a soft delete – files are archived

Figure 25. Deletion of File
Confirm Delete
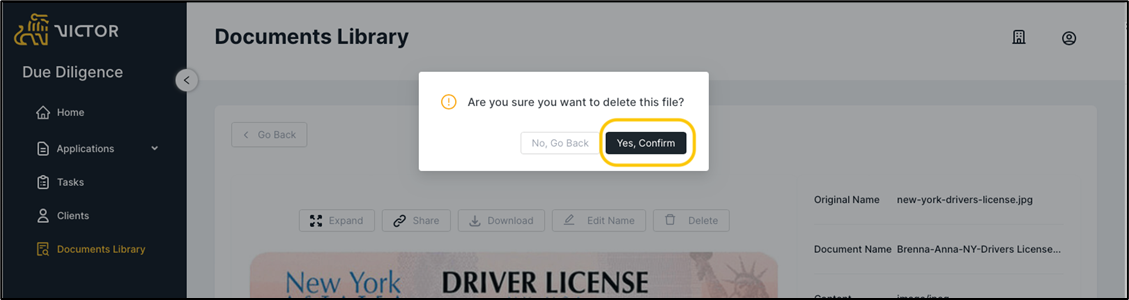
Figure 26. Confirmation of File Deletion
Document Library Permissions
• Document Admin – Create and Edit Folders, upload, view, download, share and edit documents, delete documents
• Document Editor – Create and edit folders, upload, view, download, share and edit documents
• Client Viewer – View, download, share documents